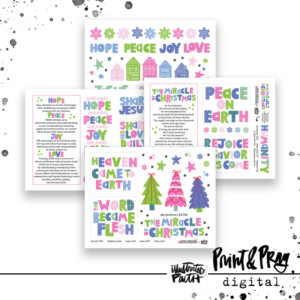
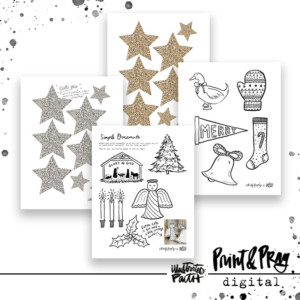
Hey crafty babes, Andrea here to give you a little tutorial on how to use the printables that will be available in the Illustrated Faith shop soon!
To cut these out using your silhouette you will need the following supplies:
- Silhouette with Studio Software
- Cutting Mat
- White Cardstock
- Home printer
- Photo editing software

Check out the video from start to finish – but if you prefer a photo/text walk through, I have also provided that below. Hope you have fun cutting!
STEP 1 // CONVERTING THE PDF TO PNG
The printable files come in a print-ready .pdf. To use the images in the Silhouette software you need .png files. So this step converts the .pdf to a .png that can be uploaded to the software.
Open Photoshop or Photoshop Elements.
Open a new file and select the .pdf files from wherever you have saved them after you downloaded them. TIP: you must unzip the files before you can import them into Photoshop.
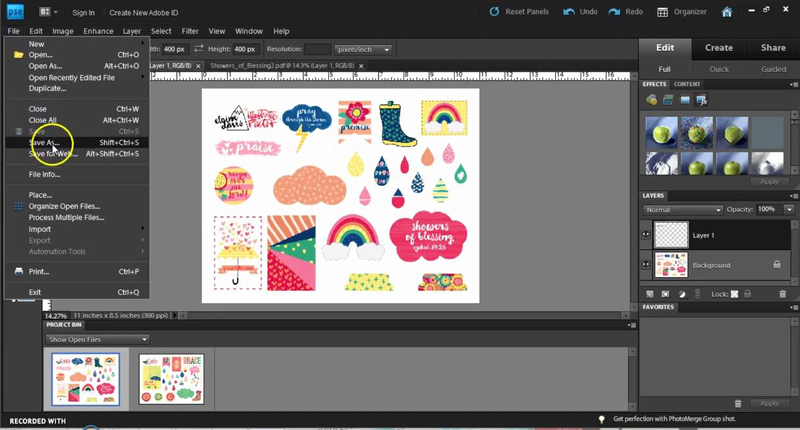
Once the files are open, click File/Save as and browse back to the original location. In the Format box (under the File name) select the dropdown and click on PNG. Click save and then click OK when the Interlaced dialogue box pops up. Repeat this process for the any other files you need to cut and you now have these docs in a .png format.
STEP 2 // IMPORT & RESIZE
Open Silhouette Studio and open a new 8.5 x 11 page. Change the Orientation of your page to be landscape or portrait, depending on the orientation of your converted image. Navigate to the Registration Marks section on the top right toolbar. Drag the sliders all the way to the left for all of the options so that you are allowed the maximum amount of space on your page.
Next, navigate to the Library (the book icon on the left toolbar). From here, drag and drop or import your two .png images into your library.
We will be working on one page at a time now so everything after this step can be repeated for any additional files. Once the file is placed on the blank page, resize it from the corners ONLY. TIP: never resize an image using the side or top sizing handle or it will alter the ratio of the images – you don’t want this so always drag from the corner handles. Drag each corner to enlarge the image as long as it remains inside the red print area.
STEP 3 // TRACE & CUT
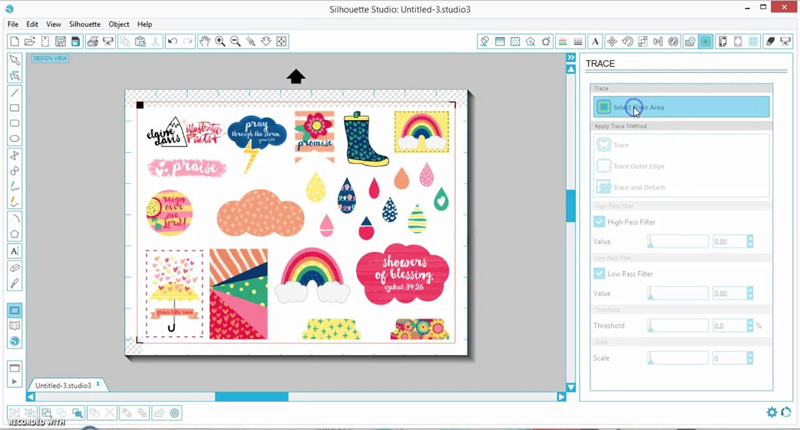
Once your image is the size you want, navigate to the Trace section in the top right toolbar. I always think it looks like a piece of toast – LOL! Then click on the Select Trace Area option.
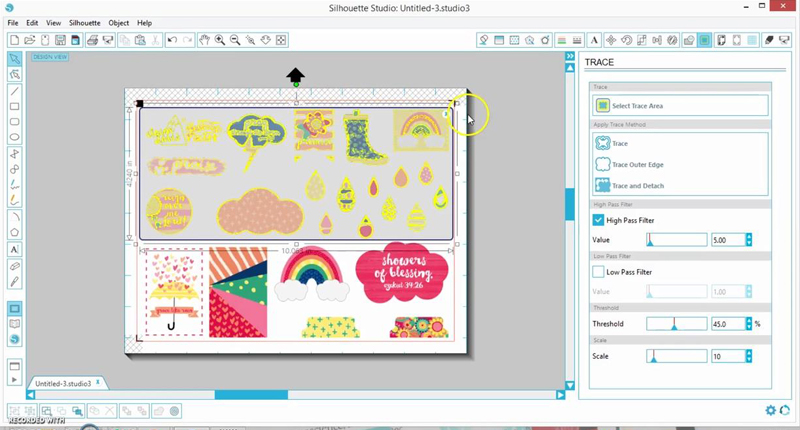
Starting from the top left corner, hold your mouse down and drag the box down to the opposite corner until it covers everything you want cut out. Then release the mouse and you end up with some blotchy yellow muck.
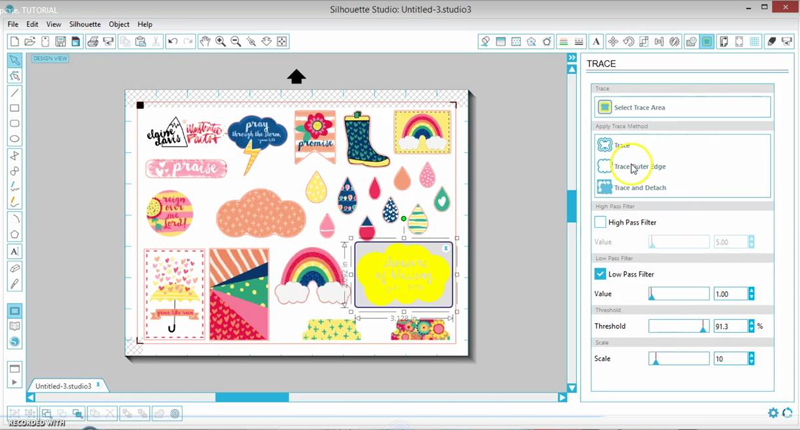
Deselect the High Pass Filter and select the Low Pass Filter. That level should be at 1. The threshold usually needs to be up in the 90s but click using the arrows up or down to really get everything nice and crisp. The Scale should be around 10. TIP: these settings are not exact for every computer. Play around with it until the edges are sharp as possible.
Once your edges are clean, click the Trace Outer Edge option and the yellow goes away and you are left with red cut lines around each image. TIP: watch the video for more detail on tracing items that are lighter in color when the trace function doesn’t pick up their outer shape.
This is the perfect time to print your page out. Just print it right from the studio software to your desired printer. It will not print the cut lines but this will ensure that your lines match up with your shapes. After this point, do not adjust or move the shapes or cut lines.
You can now navigate to the Cut Settings section. Make sure your Silhouette is connected to your computer and then set the settings for the paper you’re using. TIP: Depending on what works best for you and the storage you like, you could print these on sticker paper and keep them on the sheet instead of smaller elements. Just choose “sticker paper” for the Material Type and adjust the depth of the cut.
You can also adjust how deep you want to cut and how slow or fast you want it cut out. These are fairly standard settings. Then you click the Send to Silhouette button at the bottom and watch the magic begin!
And look at those amazing little elements all cut out for you!!

Happy crafting!
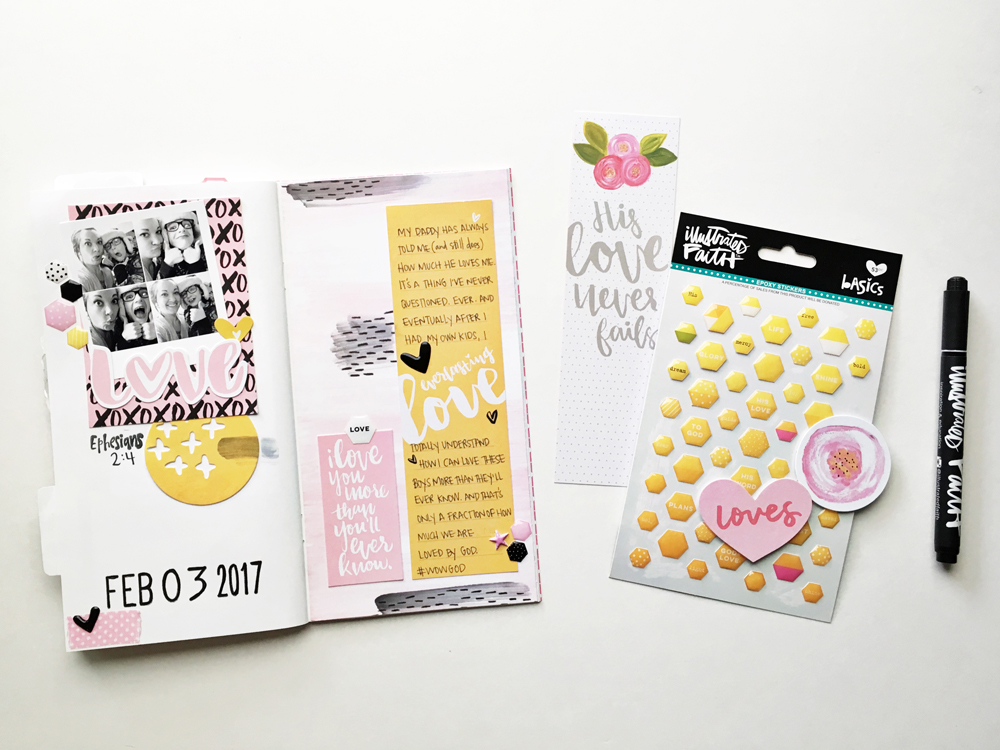
ESV Single Column Journaling Bible | Emily’s Alpha stamp by Illustrated Faith | Enamel Dots by Bella Blvd
| Enamel Hearts in One in a Melon by Bella Blvd. | Black pen: Illustrated Faith by Bella Blvd | Watercolor Set
| Water pen: Pentel Aquash Water Brush Pen
| Acrylic Paints







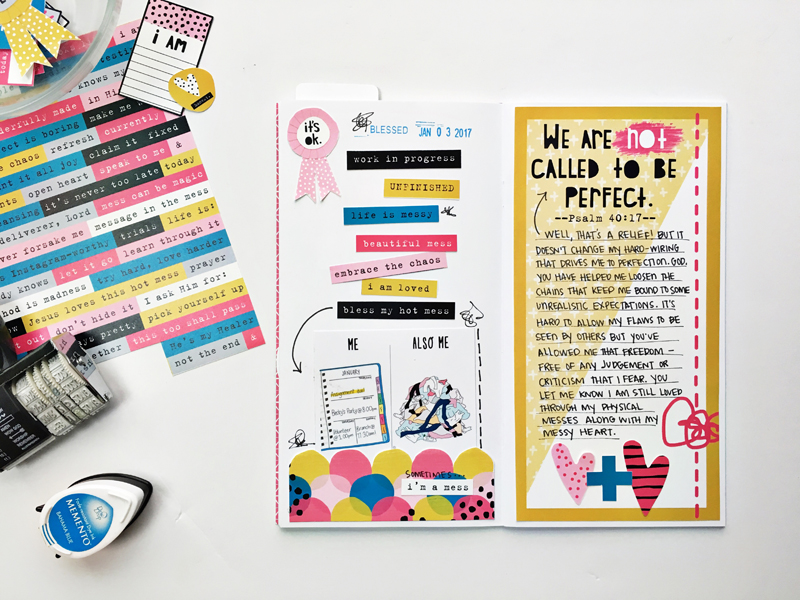
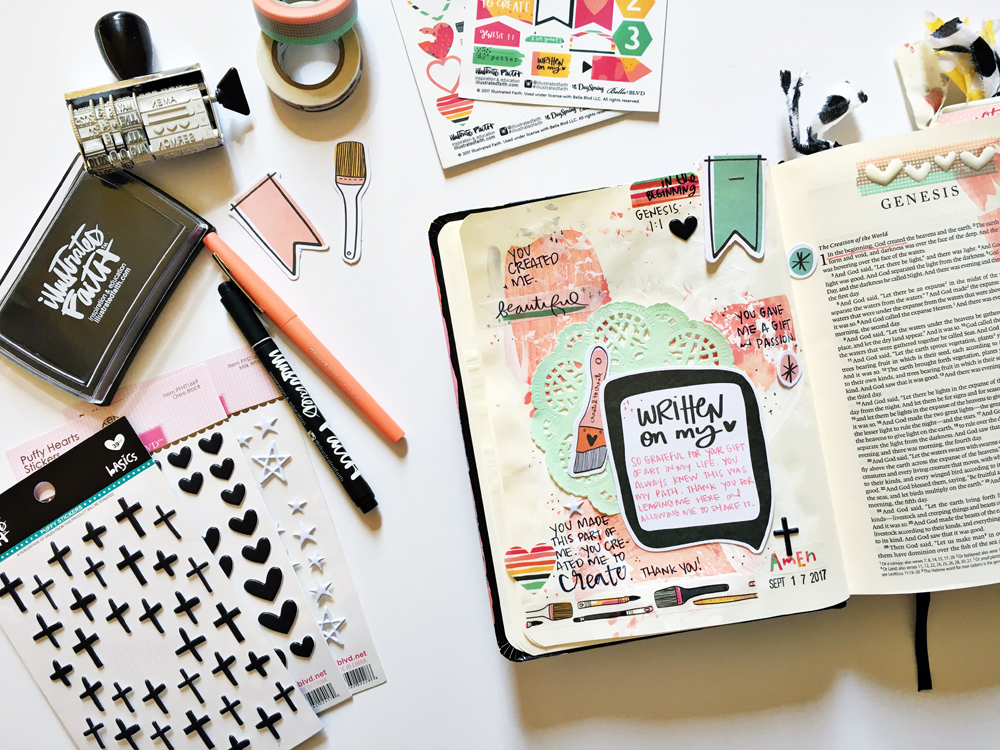

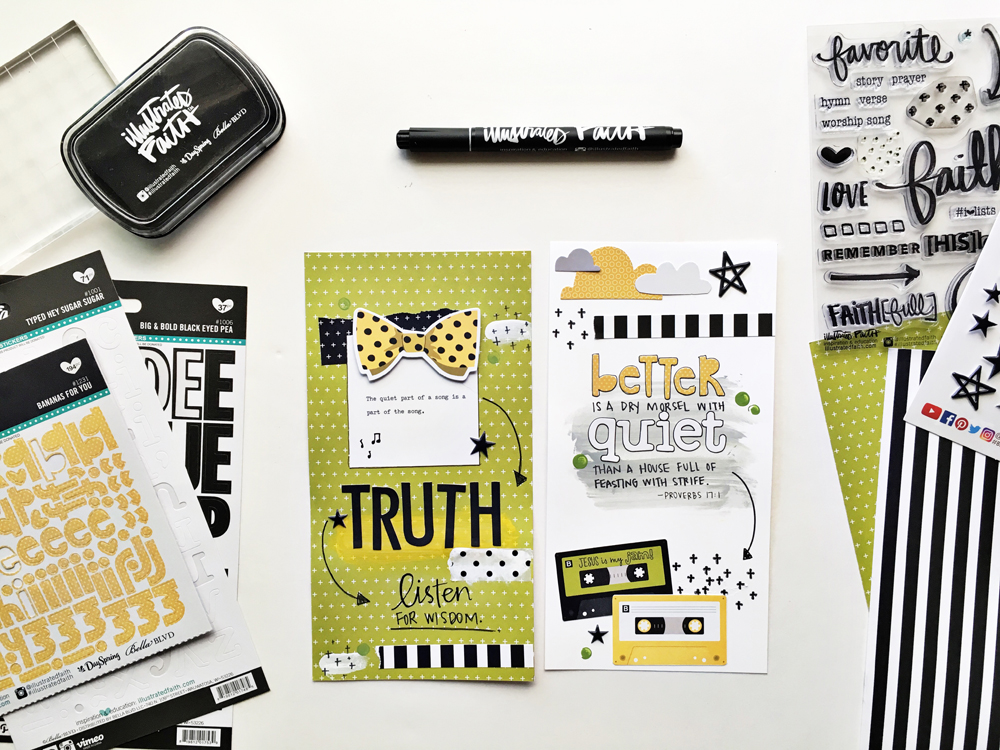

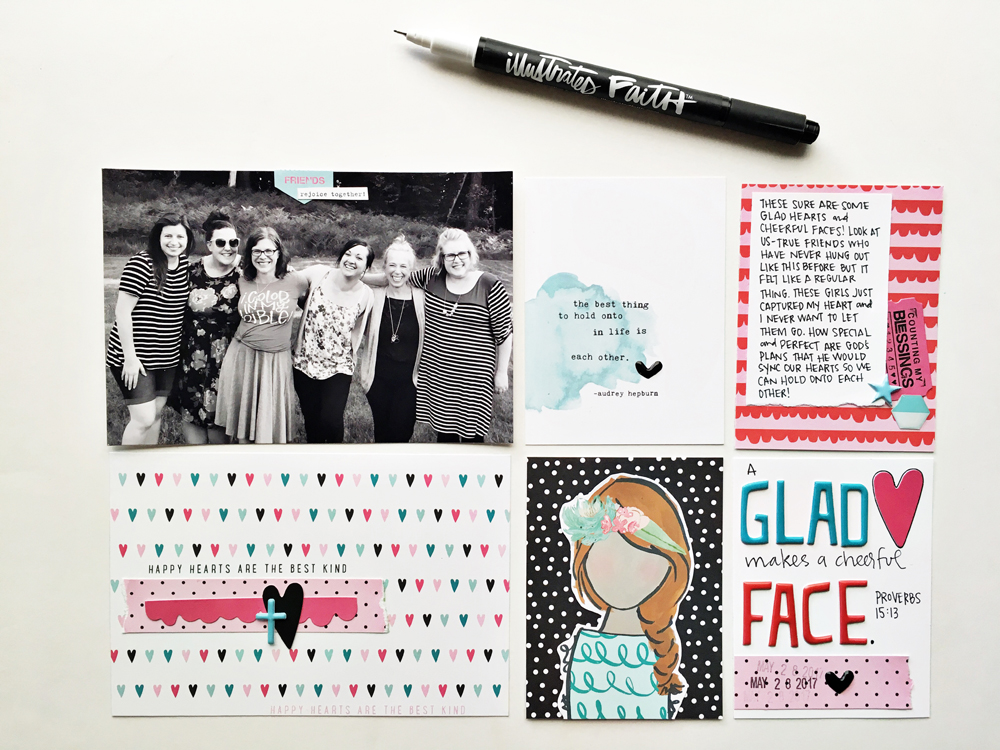




I love how creativity there is im soo glad that im able to be inspired
i am thrilled that you feel so inspired!
Love this! Do you know if it would work the same with a Cricut?
I’ve asked the team if anyone owned a Cricut and those of us that have cutting machines only own Silhouettes so I don’t know if the software works the same or not.
Thanks for the response :) Maybe I’ll play around with my Cricut and see if I can get it figured out!
What printer is the best for this? I’ve been having a hard time with the color coming out to be the same as what I see on the computer—thx
Oh my goodness, I didn’t know I could convert a pdf to a png until I read this! Thank you so much, this is going to save me so much printer ink and sticker paper.