Hey friends! I hope you’ve been having fun guessing the team’s flatlays! Today is the last day to make your guesses so make sure you head over there to get them in for a chance to win the next kit, Heart Layers! I am super super excited for this devotional as I know it’s been requested and will be really good for us all to dive into and really work through.
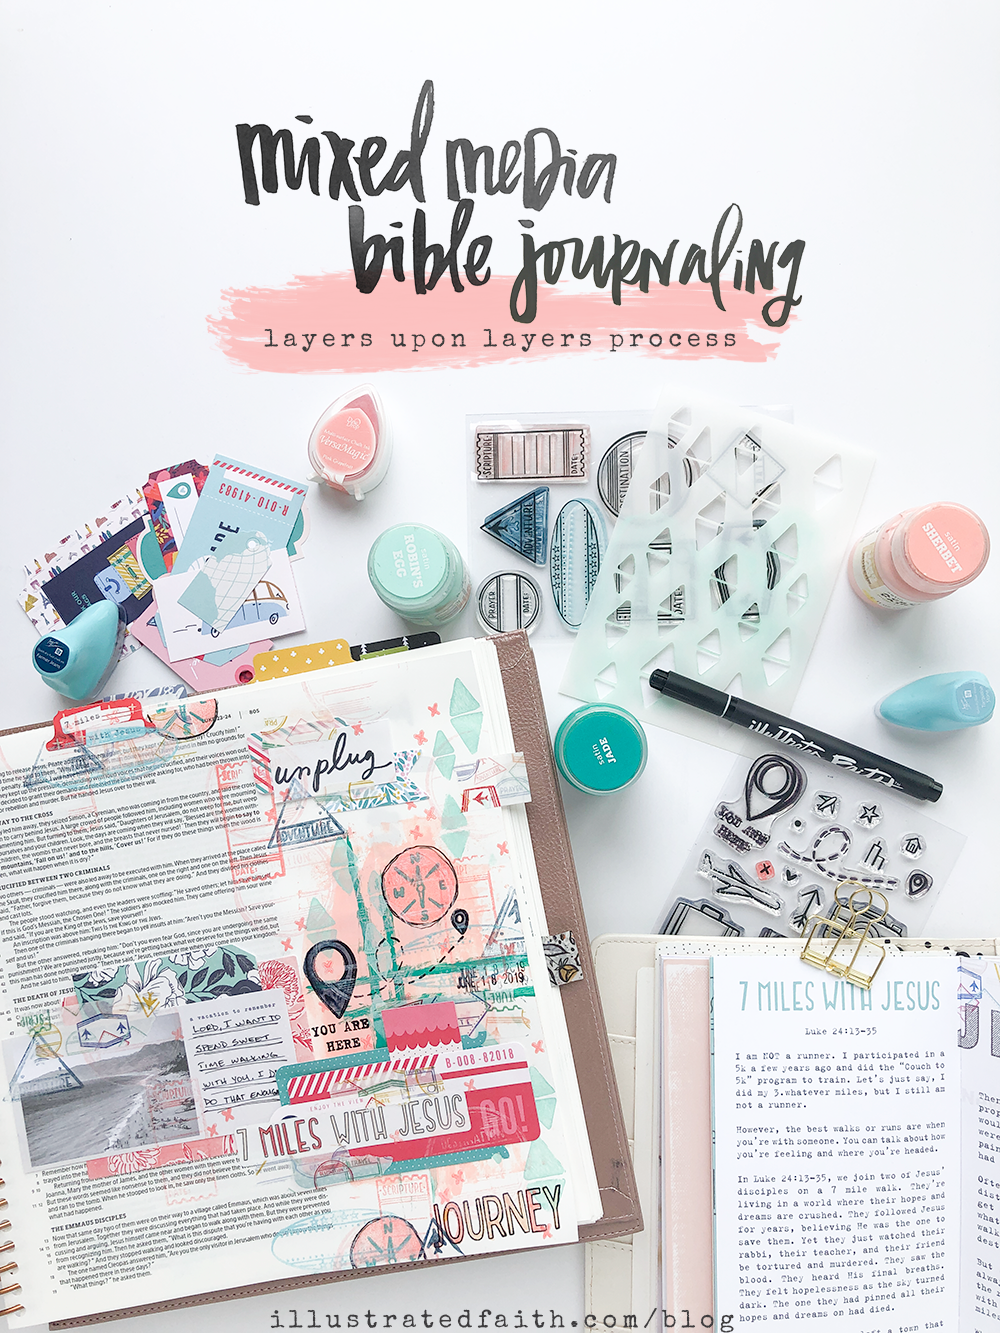
I’ve been enjoying my summer with the kids. This is the first year we decided not to do year round homeschooling and to actually have a summer break with our friends. We’ve had so much fun, but I’m excited to get back into a routine again. I’ve been finishing up the Revival Camp, wasn’t it soooo good this year? What was your favorite Bible story to dive into? I’ve been really soaking up the time I’ve been in my Bible and a realization I found was that I just love to add layers and then come back later and add more layers… and do that on repeat several times. I thought I would just walk you through the process that I generally go through today.
Paint Layers
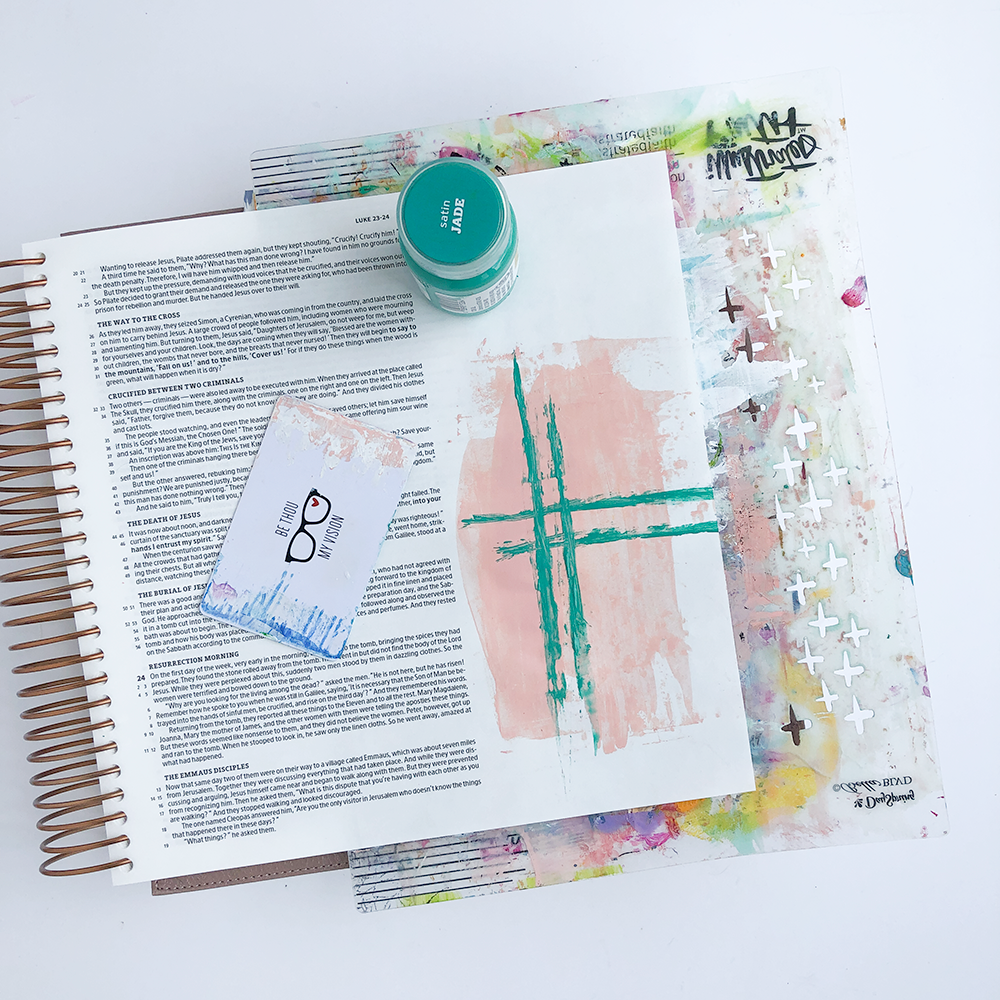
1. I like to put down a base layer of paint. I usually grab my paint card and scrape paint around the margin. I usually do three separate areas but today decided to just do one full area down the margin of my Bible.
2. Then I like to add some marks whether it’s lines or smaller scrapes of paint… this time I chose to use the edge of my paint card to create lines. Since this story is about Christ’s resurrection, I decided to make a big cross.
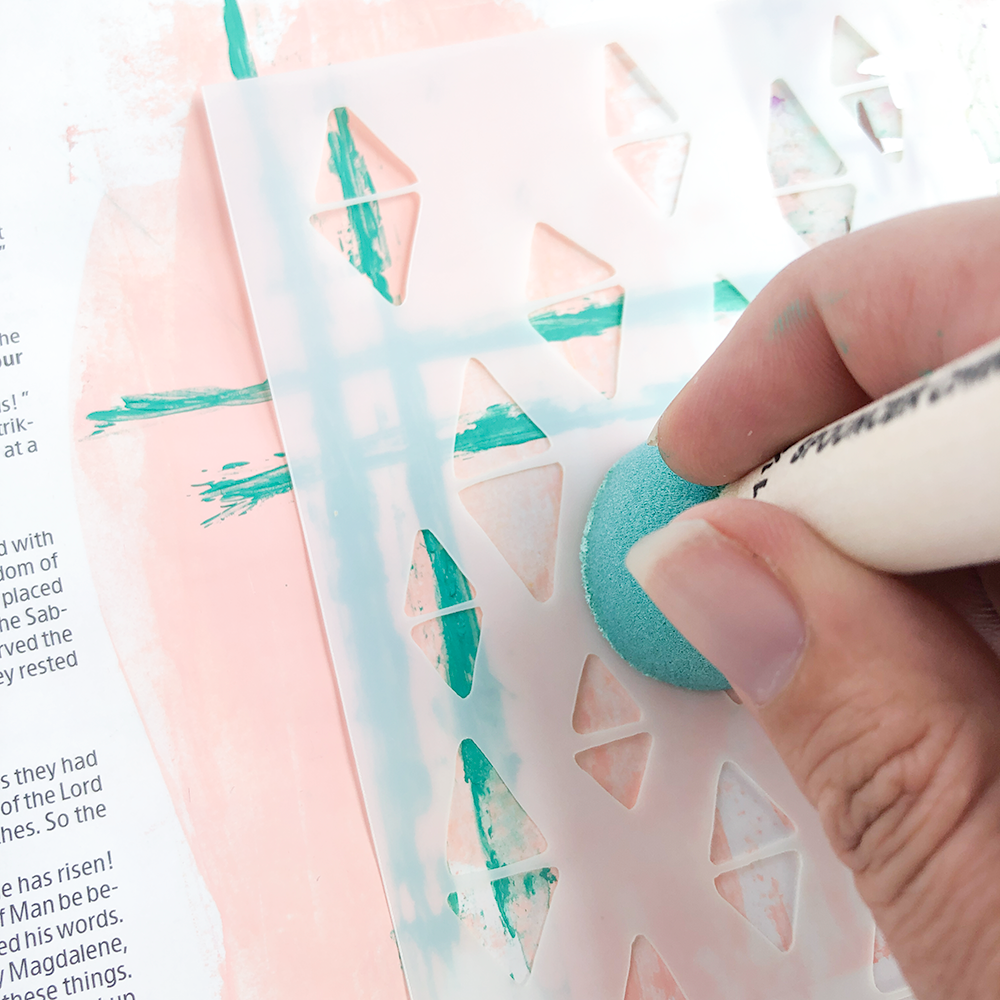
3. Then I like to add a third marking and used the stencil and sponge to add that third layer of acrylic paint.
Stamp Layers
This is where we’re just going to keep adding on. You’ll notice that not only have I used black ink for the main stamping but I also added in some more color with the markings stamps in the set. I just stamped that little tiny X everywhere.
Paper Layers
Lastly, I just play around with the die cuts and have fun with making several piles of paper layers. You’ll notice that I have three separate little piles of paper layers that I added around the page… a little note: you can see in the photo above that I dropped my inked stamp right on top of the scripture. ACK!!! Sometimes stuff like that happens and instead of getting upset, we have to remember that it’s about the experience and the worship time with God and not about perfection. I decided this was the perfect place to add my journaling spot to the page.
To end I usually add more of the tiny markings with stamping and then add my journaling and of course add a date stamp. I also colored in some of the outline stamps which was fun to do. I also went back and added even more stamping with the Old Testament stamp set. I could go on and on and on with more and more layers. Then God tells you ok it’s finished now.
Additional Supplies: Chalk Ink | StazOn Jet Black | Faber Castell Big Brush Markers | Assorted Acrylic Paint















I love how this page turned out! All your layers came together so perfectly. Thanks for sharing your steps!