Last week in the Facebook group a couple ladies posted photos of their Bible using a Gelli Arts® Plate and I said that I would be happy to do a tutorial on using it on the thin and delicate pages of our Bibles. There are many fun things you can do with a gelli plate so I’m just going to start with the basics today and go into more techniques another time.
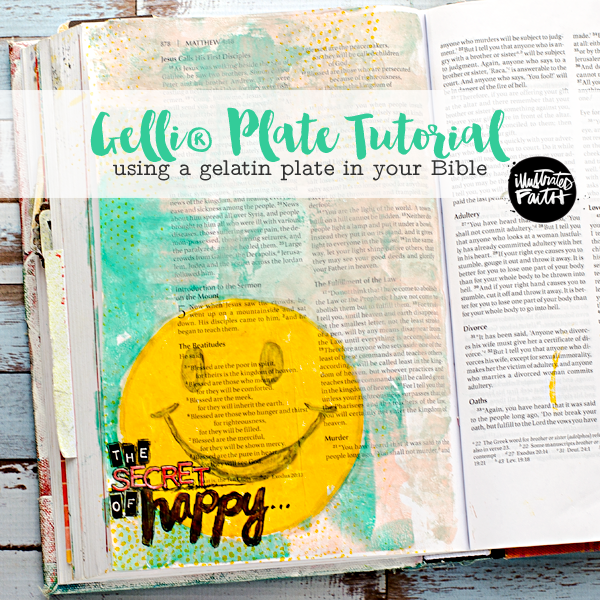
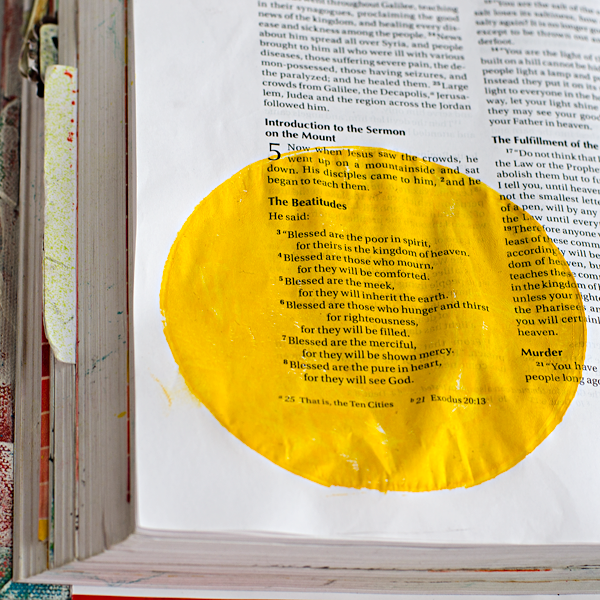
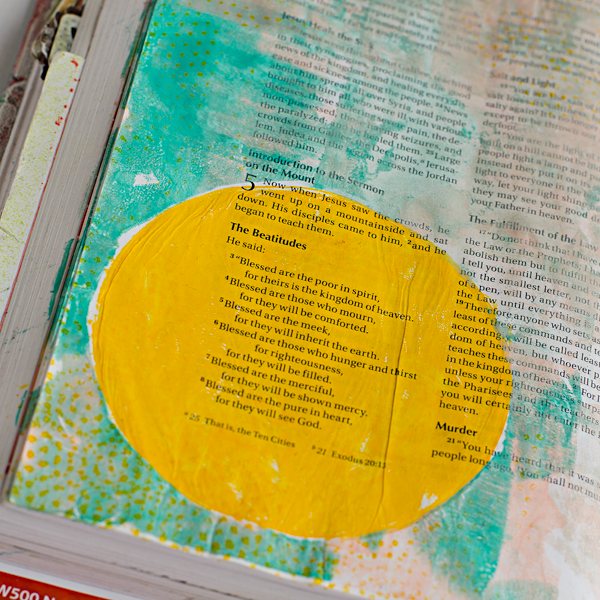
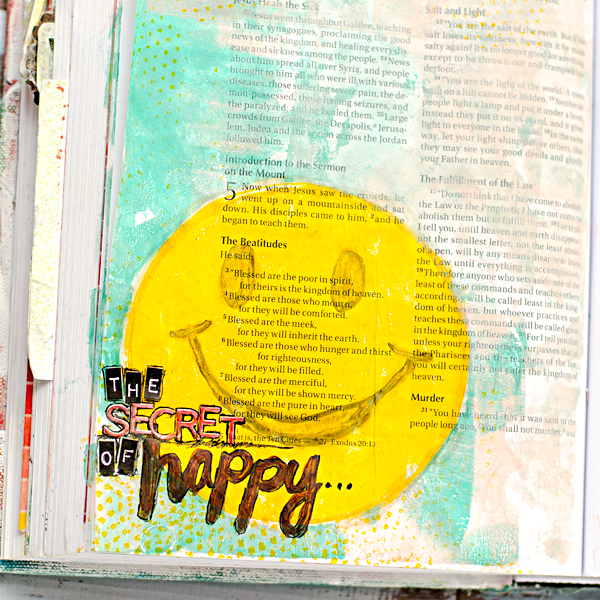
We’ve started a new series at my church recently on the Beatitudes, Matthew 5:3-11, and it’s called “The Secret Of Happiness”. All the media for the series has these cute yellow smiley faces and I just knew that’s what I wanted to do in my Bible.
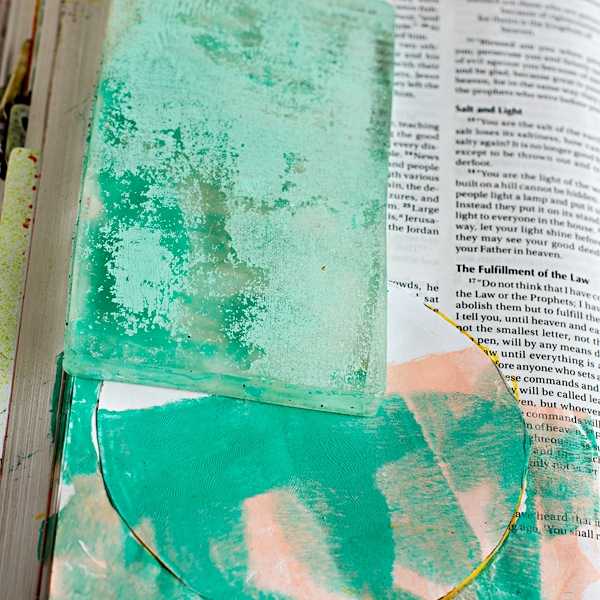
Gelli Arts® recently came out with smaller gelli plates and I love using the smaller ones in my Bible, and use them like stamps. After much experimenting, the stamping technique is easier to do than to flip your Bible over onto the gelli plate to get an impression. Plus, they’re less expensive than the larger ones. I’m using the 4″ round plate and the 3″x5″ plate in this tutorial.
TIP: practice on back pages or thin printer paper until you get the hang of how much paint to use on your gelli plate. Every paint is different as far as opacity, even among the different colors. If you are worried about covering words, this practice will help prevent accidental coverage.
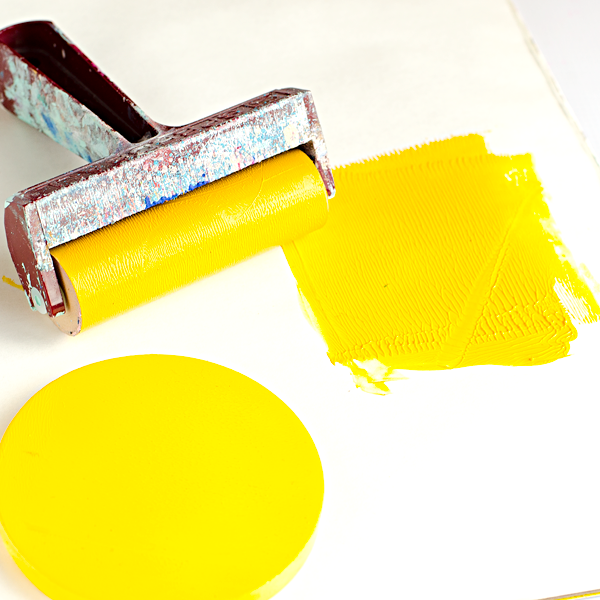
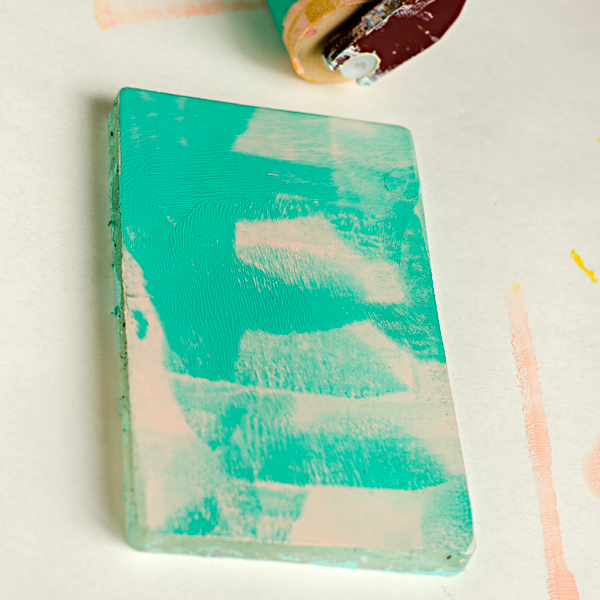
STEP ONE: Squeeze out a blob of paint on your craft mat or pallete paper. Using a soft rubber brayer or a paint brush, spread some paint over the gelli plate. This is where the practice will help you in determining how thick and how much to put on your plate. You don’t want too little that it dries up before it gets on your page and you don’t want too much that it’s a big wet glob of paint on your page that soaks through or takes forever to dry and risks tearing.
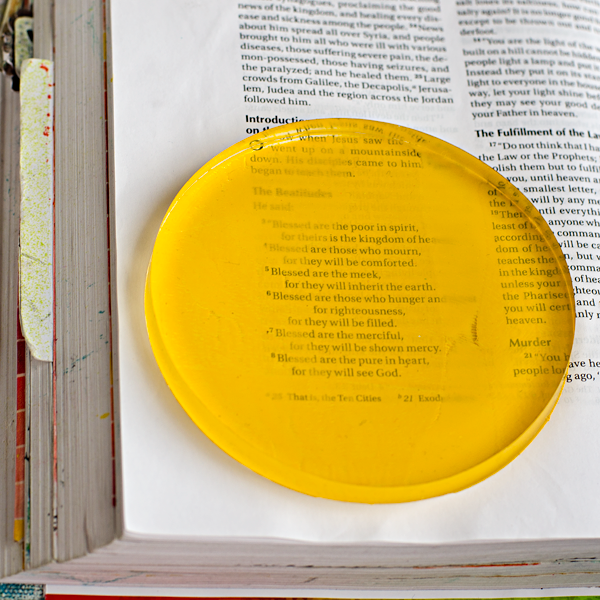
STEP TWO: Flip it over and stamp it onto your page. It will be a little sticky so carefully peel back the plate from the page while holding a corner of the page. You don’t need to push down on the plate like you do with a stamp. Just a gentle kiss should be enough, the stickiness of the plate will help to transfer the paint to your page.
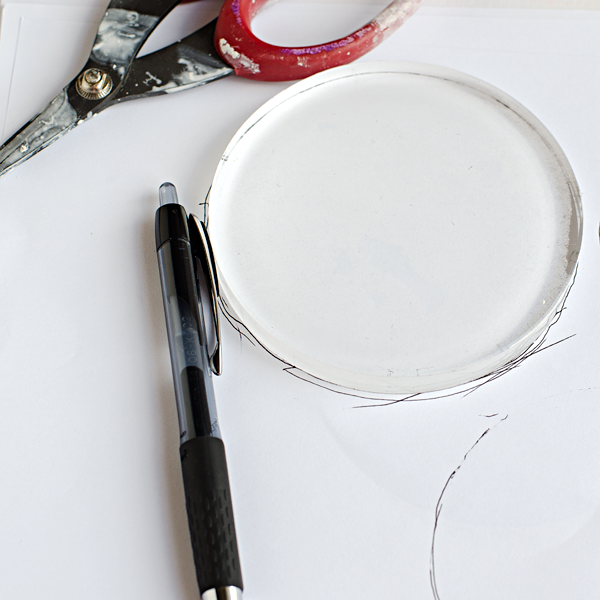
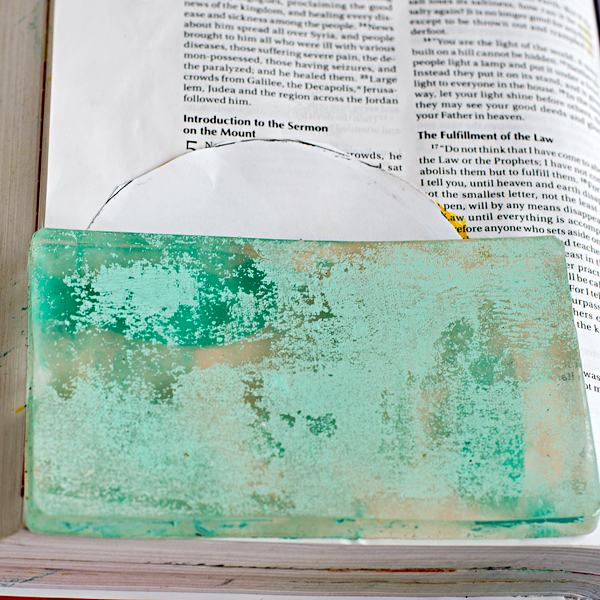
THAT’S IT, that’s the most basic use of the gelli plate! Let me walk you through what I did to finish my page. I wanted to protect my smiley face, so I had traced around my gelli plate and cut a piece of paper to use as a mask. I set the circle on top of my yellow circle.
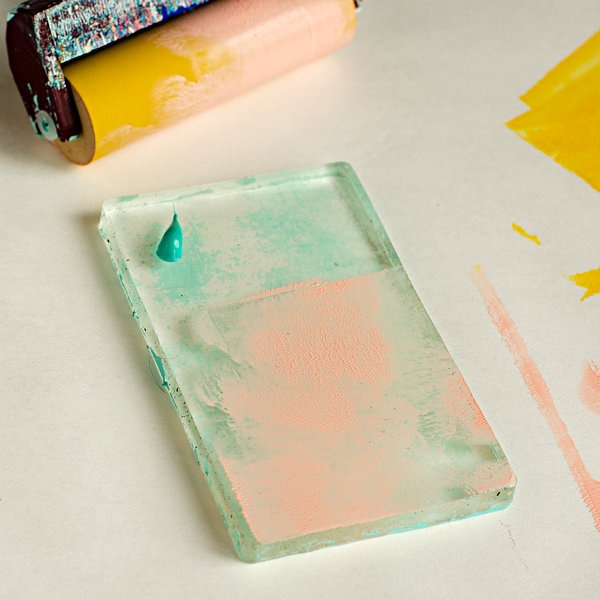
Then, I added pink and aqua dabs of paint onto my 3″x5″ plate and used the brayer to spread it around, just enough to cover the plate but not blend the colors too much. This way instead of purple you can still see the pink and aqua in fun random patterns.
There will still be paint on your gelli plate and you can stamp it a few times before needing to add more paint. I usually have enough paint left on my brayer to just add to my plate. Have fun!! The joy is in not knowing exactly what’s going to stay when you pull up the plate.
After I filled my page with the pink and aqua, I still had some of that yellow paint on my palette paper. I dipped a dotted textured foam sheet into it and then stamped it randomly around the page. Then using my Faber-Castell Big Brush markers, I stamped the “happy” and drew the eyes and smile on the smiley face. Lastly, I finished it off with alphabet stickers and outlined them with my pen. As the series continues I will be adding in tip-in journal cards to write down some key points from my notes.
Shanna Noel is a participant in the Amazon Services LLC Associates Program, an affiliate advertising program designed to provide a means for sites to earn advertising fees by advertising and linking to amazon.com.
Supplies Used: NIV Notetaker’s Bible | Gelli Arts Gelli Plate 4″ Round | Gelli Arts Gelli Plate 3″x5″ | Speedball Brayer | Liquitex Basics Paint – Light Portrait Pink, Bright Aqua Green, Cadmium Yellow Deep Hue | Faber Castell Big Brush Markers – Medium Flesh, Cold Grey III, Warm Grey I








I was wondering, what is the difference between the gelli plate 3×5 and the acrylic IF stamping block?
the gelli plate is like gelatin and flexible and floppy, kinda like the stamps… the acrylic block is hard